Modern smartphones offer increasingly efficient sensors capable of producing surprisingly detailed images. However, even with artificial intelligence and automatic modes, some situations require more precise control. Manual ISO adjustment is one of those tools that allows you to manage the sensor’s sensitivity to light, directly influencing the brightness and grain of your photos.
When light becomes your main constraint
ISO plays a key role in managing light. Knowing when to adjust it helps solve brightness issues without sacrificing quality.
Dark or indoor scenes
In a dimly lit environment, automatic mode may choose an ISO that is too high, generating noise in the photo. Manual adjustment allows you to find the compromise between sufficient brightness and acceptable image quality.
Sunset or sunrise
These moments offer low but spectacular light. An ISO slightly above the minimum allows you to capture details while preserving the natural colors of the sky and landscape.
Night events
Concerts, parties, or nighttime events often require adjusted ISO to compensate for artificial or unstable lighting while avoiding grainy photos.
Low ISO for maximum sharpness
A low ISO reduces noise and produces sharper images but requires enough light or a longer exposure time.
Bright landscapes and outdoor daytime
In sunny weather, maintaining a low ISO (100 to 200) preserves the clarity and contrast of details, whether for buildings, nature, or the sea.
Portraits with natural light
A low ISO ensures more realistic colors and sharp faces, especially when using a smartphone with a sensitive sensor.
Creative long exposures
When using a tripod or prolonged exposure, a low ISO is essential for a sharp result and to avoid grain in dark areas.
High ISO: when to use it with caution
Increasing the ISO increases light sensitivity but often introduces digital noise.
Dark interiors without flash
When flash is prohibited or undesirable, a high ISO allows you to capture the scene, but it’s important to stay within a range that limits grain.
Fast-moving scenes with low light
To freeze action, you sometimes need to compensate for a short exposure time with a higher ISO. The trick is to balance sensitivity and shutter speed to get a sharp image.
Indoor sports events
In environments with limited artificial light, a high ISO allows you to follow fast subjects, even if it involves a slight compromise on quality.
Combining ISO and other settings for optimal results
ISO never works in isolation. Manual control of the smartphone allows juggling with other settings.
Exposure time and shutter speed
Reducing ISO may require a longer exposure time. On smartphones, some models offer a Pro mode that allows extending the exposure while maintaining brightness.
Aperture and stabilization
Although the aperture is often fixed on a smartphone, optical or digital stabilization helps compensate for low ISO during long exposures.
White balance
Adjusting ISO without correcting white balance can alter colors. Ensure that ambient light is well reproduced in parallel.
Situations where automatic ISO remains sufficient
Even in manual mode, it is sometimes preferable to let the smartphone manage sensitivity.
Balanced lighting conditions
During the day, with even lighting, automatic ISO works very well and produces sharp and detailed images.
Quick or spontaneous photography
When you don’t have time to adjust settings, automatic ISO ensures your photos are correctly exposed, even if they lack finesse in dark areas.
Highly contrasted scenes
In situations with very bright and very dark areas, automatic ISO quickly adapts sensitivity to avoid overexposure or underexposure.
Tips for mastering ISO on a smartphone
A few simple principles allow better control of the sensor’s sensitivity.
Always start with the minimum necessary
Start with the lowest possible ISO and gradually increase according to brightness. This limits noise while maintaining clarity.
Use a tripod when possible
A stable support allows compensating for low ISO with a longer exposure time, ideal for night photos or static scenes.
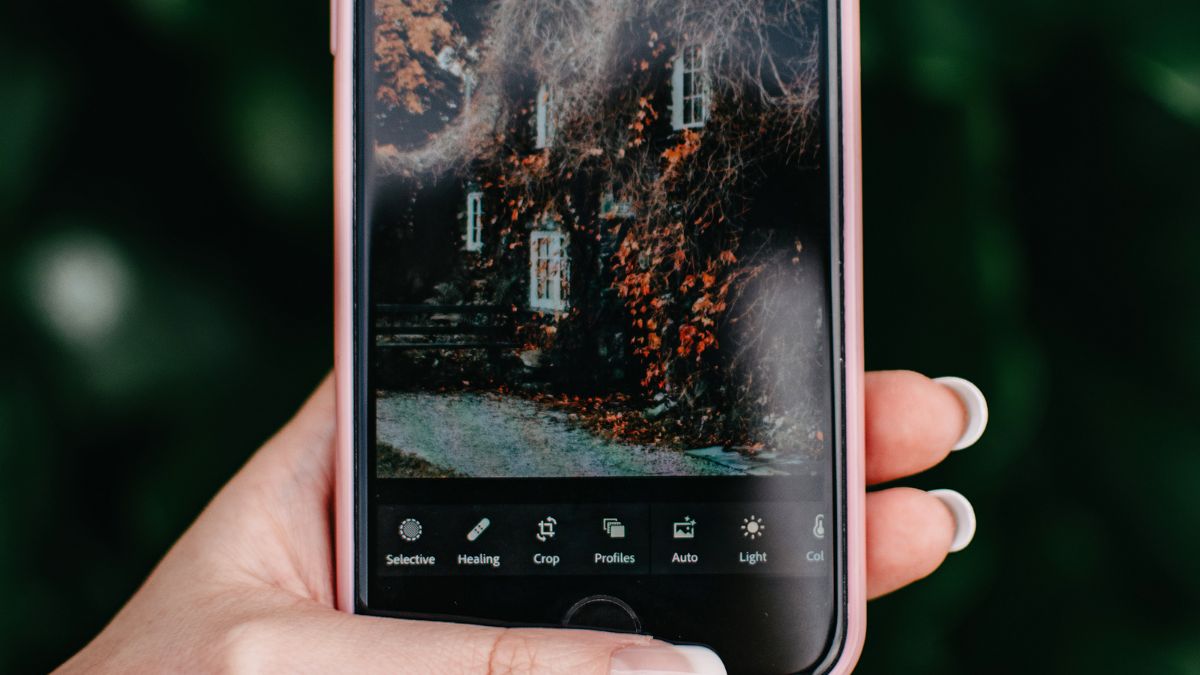
Test and adjust in real-time
The Pro mode of modern smartphones allows you to instantly visualize the effect of ISO on the image. Take advantage of this feedback to find the best setting.
Keep photos in raw format
If the smartphone allows it, recording in RAW offers more flexibility to correct exposure or reduce noise in post-processing.